![]()
![]()
![]()
![]()
![]()
![]()
![]()
![]()
Using Photoshop Elements 2
Stage 2.
|
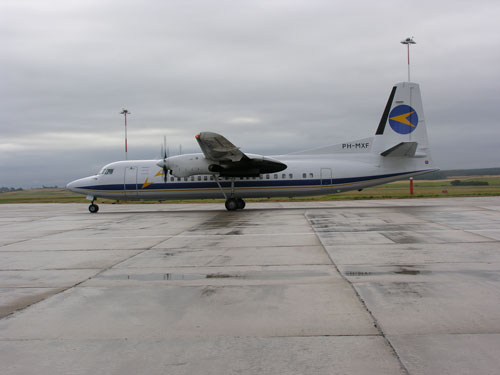
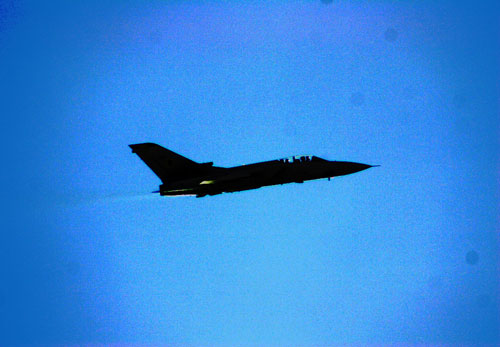
The original photo |
|
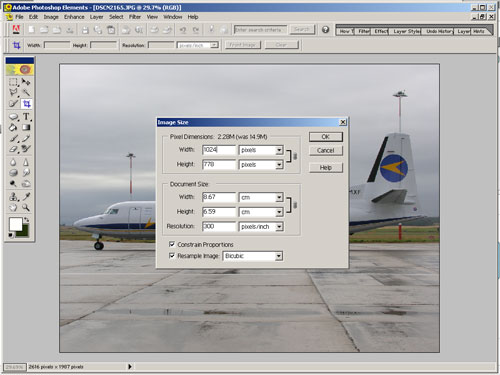
3. Re-size and image levels Check the numbers on the bottom left hand of the screen, they should say something along the lines of 82.98% 1024x711. If not then we will have to resize our image. Select IMAGE, RESIZE, IMAGE SIZE. Enter the desired image size into the box
Enter 1024 into the WIDTH box and so long as the CONSTRAIN PROPORTIONS box it checked the image height will be automatically set in proportion to the width
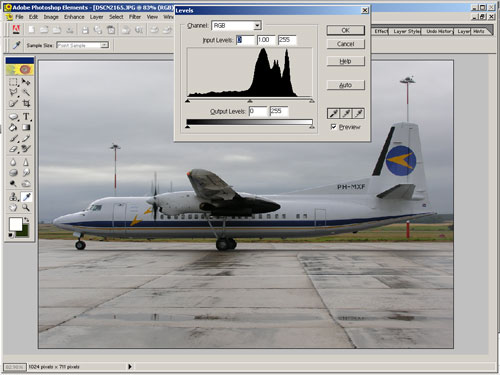
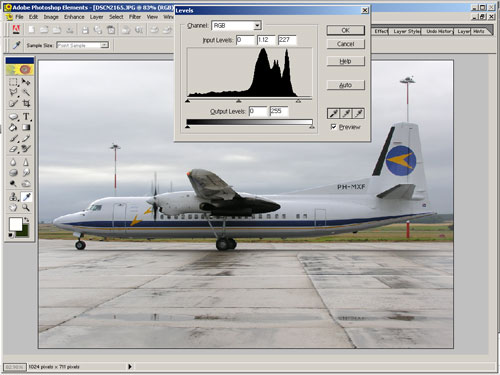
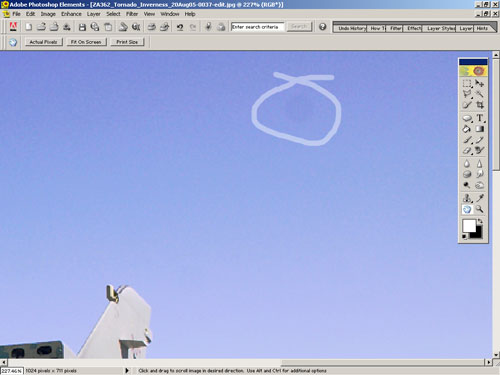
If you are happy with the changes then press OK Stage 2 and a bit.....being careful. The bane of digital photography is dust spots. I never ceases to amaze me how the screeners can find these little beggars but they do. Of course we should check for the blighters before we submit a picture. It is probably best if you clone out the spot before re-sizing the image, it is a personal choice, I prefer to do it before re-sizing. Spots are more easily seen against the sky or clouds, this is an extreme example. Most of these spots disappeared when the image was cropped. There were still three that I had to treat.
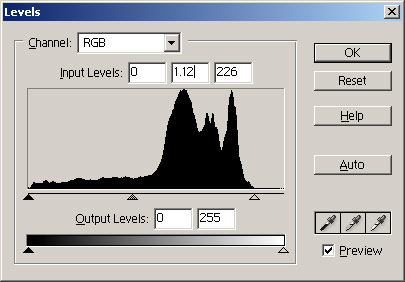
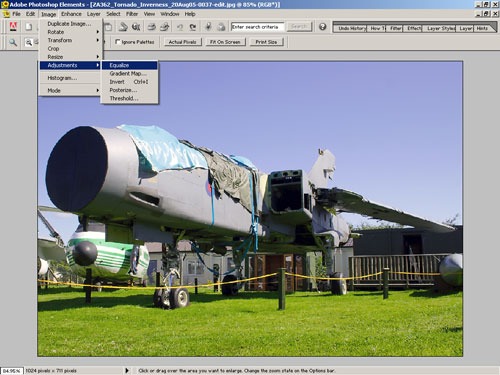
One useful technique for finding dust spots is.... Select, IMAGE, ADJUSTMENTS and then EQUALISE. The colours on your image go all to pot but do not worry, you just have to be careful.
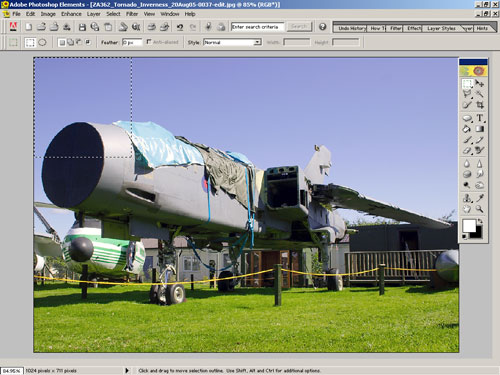
Now select, the Zoom or magnifying glass tool or (Z) . Here I have cheated a bit and used the rectangle tool to show the approximate size of area to select.
Now, select the HAND tool or (H) holding the left mouse button down, drag the picture, in my case to the right watching for the dust spots.
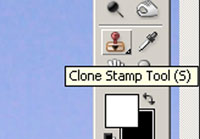
Low and behold a dust spot. This picture was rejected by an Airliners.Net screener for this reason. Important, select EDIT, then UNDO or (Ctrl + Z) while keeping an eye on the location of the dust spot. Failure to do this step means saving an equalise image which is no use to man nor beast. To get rid of it, select the CLONE STAMP Tool or (S)
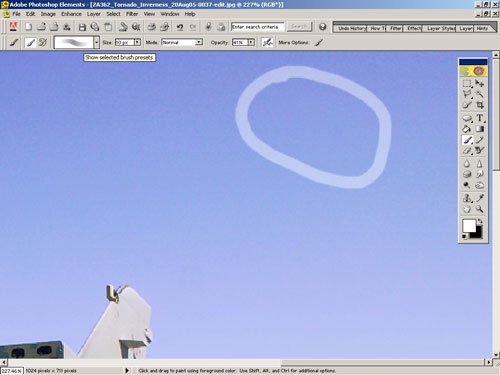
The cursor will change to a circle and adjust the diameter of the circle to roughly the same size as the spot. I prefer to use the keyboard short cuts ( [ ) to reduce and ( ] ) to enlarge. Select an area of similar sky close to the spot by moving the cursor to a suitable spot and holding down the Alt key left click with your mouse. The cursor will change to a cross hair while the Alt key is held down. To clone out the spot, move the cursor over part of the spot and click away at portions of the spot to the left, then move the cursor to a suitable area to the right of the spot, re-select another suitable area and clip away at the spot from the right hand side. DO NOT hold down the left mouse button and wipe the spot away. This tends to produce multiple patterns, which is a dead give away that you have used the Clone Tool. You should end up with a picture that looks like this.
And that nasty spot is now history. Now switch back to Equalise and check the rest of the picture. Then and only then save the image. Follow the camera manufacturers instructions on how to remove dust spots to the letter. |