![]()
![]()
![]()
![]()
![]()
![]()
![]()
![]()
Using Photoshop Elements 2
Stage 1.
|
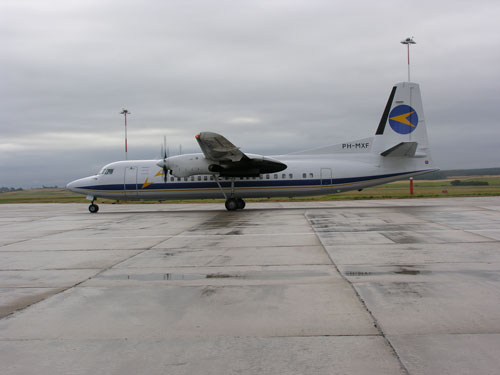
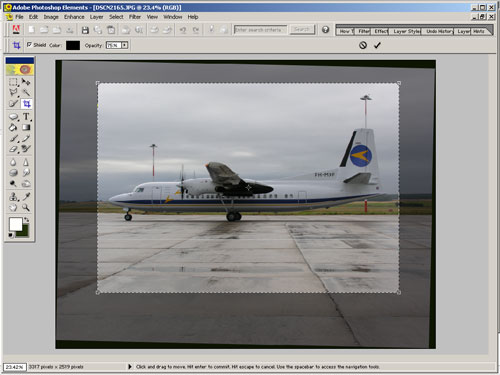
The original photograph. |
|
Preparing a photo for an on-line aircraft photo database is not difficult, although it does help if one has a good image to start with. My thanks to my friend Stephen Lane for providing me with the inspiration and the image for this tutorial. 1. Level
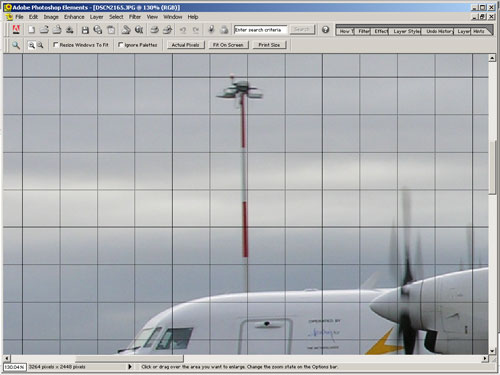
Select IMAGE, ROTATE, CUSTOM. A pop-up box will appear select a value to the right. It is a matter or trial and error. If the rotate does not work use the STEP BACKWARD arrow, which may be under the work WINDOW to undo the rotation and preserve image quality. With me 1.25 RIGHT seemed to work best.
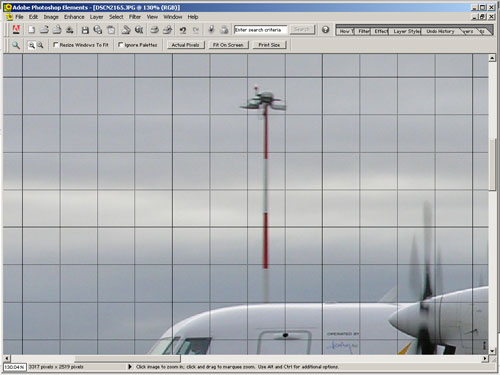
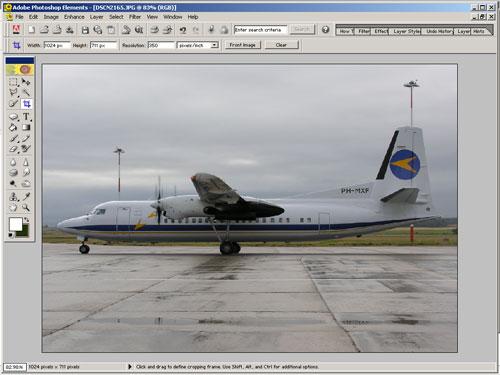
Select the CROP TOOL (C)
Otherwise, select the CROP TOOL (or press the keyboard key C) Starting at the upper left hand corner of the picture drag out the crop box to cover the entire image. Then placing the cursor on the bottom right hand box of the dashed crop box, it will change to a double headed arrow, then holding the SHIFT key down drag the crop box inward to the desired position. Drag out the box with a bit fore and aft. I prefer to have the image slightly lower than mid-frame, the cross is dead centre on the windows, mine is on the engine exhaust. DOUBLE LEFT CLICK in the box and the image will be cropped to the new size.
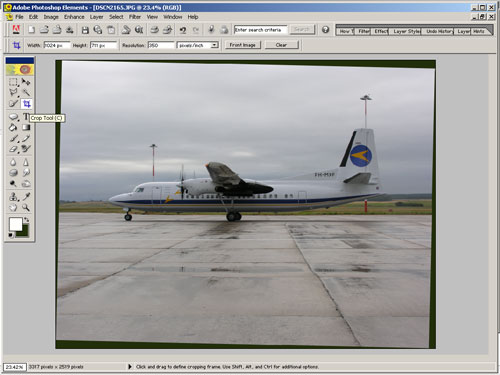
This should give us our levelled and cropped
image
|