![]()
![]()
![]()
![]()
![]()
![]()
![]()
![]()
Stage 1 Levelling & sharpening
|
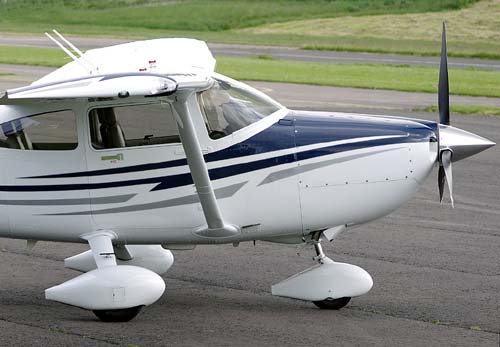
Finished image |
|
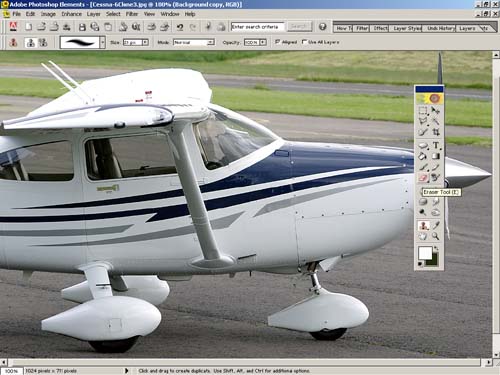
What we have done is to add a duplicate photo onto of our original photo and now we are going to sharpen it then rub out the areas we do not want sharpened exposing the softer, unsharpened layer underneath. I am going to assume that you know how to sharpen by applying the unsharp mask. If not, select FILTER, SHARPEN, UNSHARP MASK. Here I used Fred's settings of AMOUNT 160%, RADIUS 0.6 and THRESHOLD 1. Ideally one should select the best numbers to suit the individual photograph.
Eraser Tool Zoom into the area you want to erase then select the ERASER TOOL from the Toolbox.
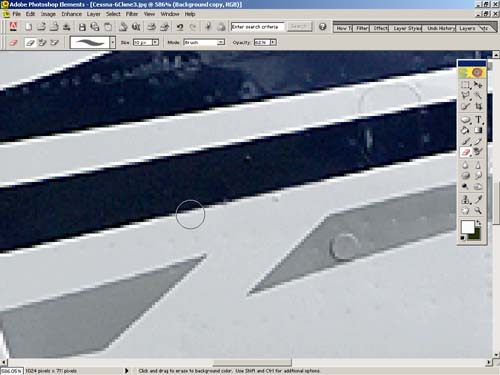
Play with the OPACITY value to get the desired effect this is 30%
The cursor is at setting of 62%
.... and the cursor is at a setting of 100%, which is very noticeable. Work all the areas that you wish to be erased and then hold down the space bar and you will notice the cursor changing to a hand, left click and drag to a new area.
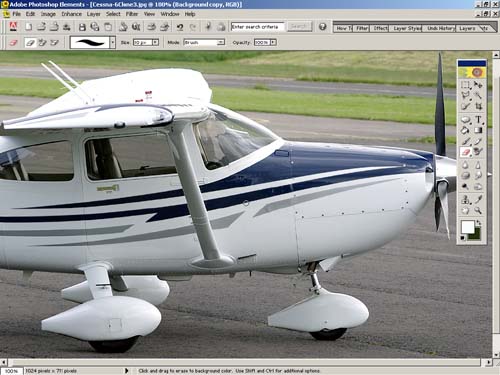
Almost finished
|